Fiber internet, known for its lightning-fast speeds and reliability, is becoming increasingly popular. Here’s a quick overview of how fiber internet is installed.
- Survey and Planning: Before installation, technicians survey your area to plan the best route for the fiber optic cables. This step ensures minimal disruption and optimal performance.
- Laying the Fiber Cables: Depending on your location, fiber cables are either laid underground or attached to existing utility poles. Underground installation involves digging trenches to bury the cables, while aerial installation uses poles to string the cables.
- Installing the Network Terminal: A network terminal, also known as an Optical Network Terminal (ONT), is installed outside or inside your home. This device converts the optical signals from the fiber cables into digital signals your devices can use.
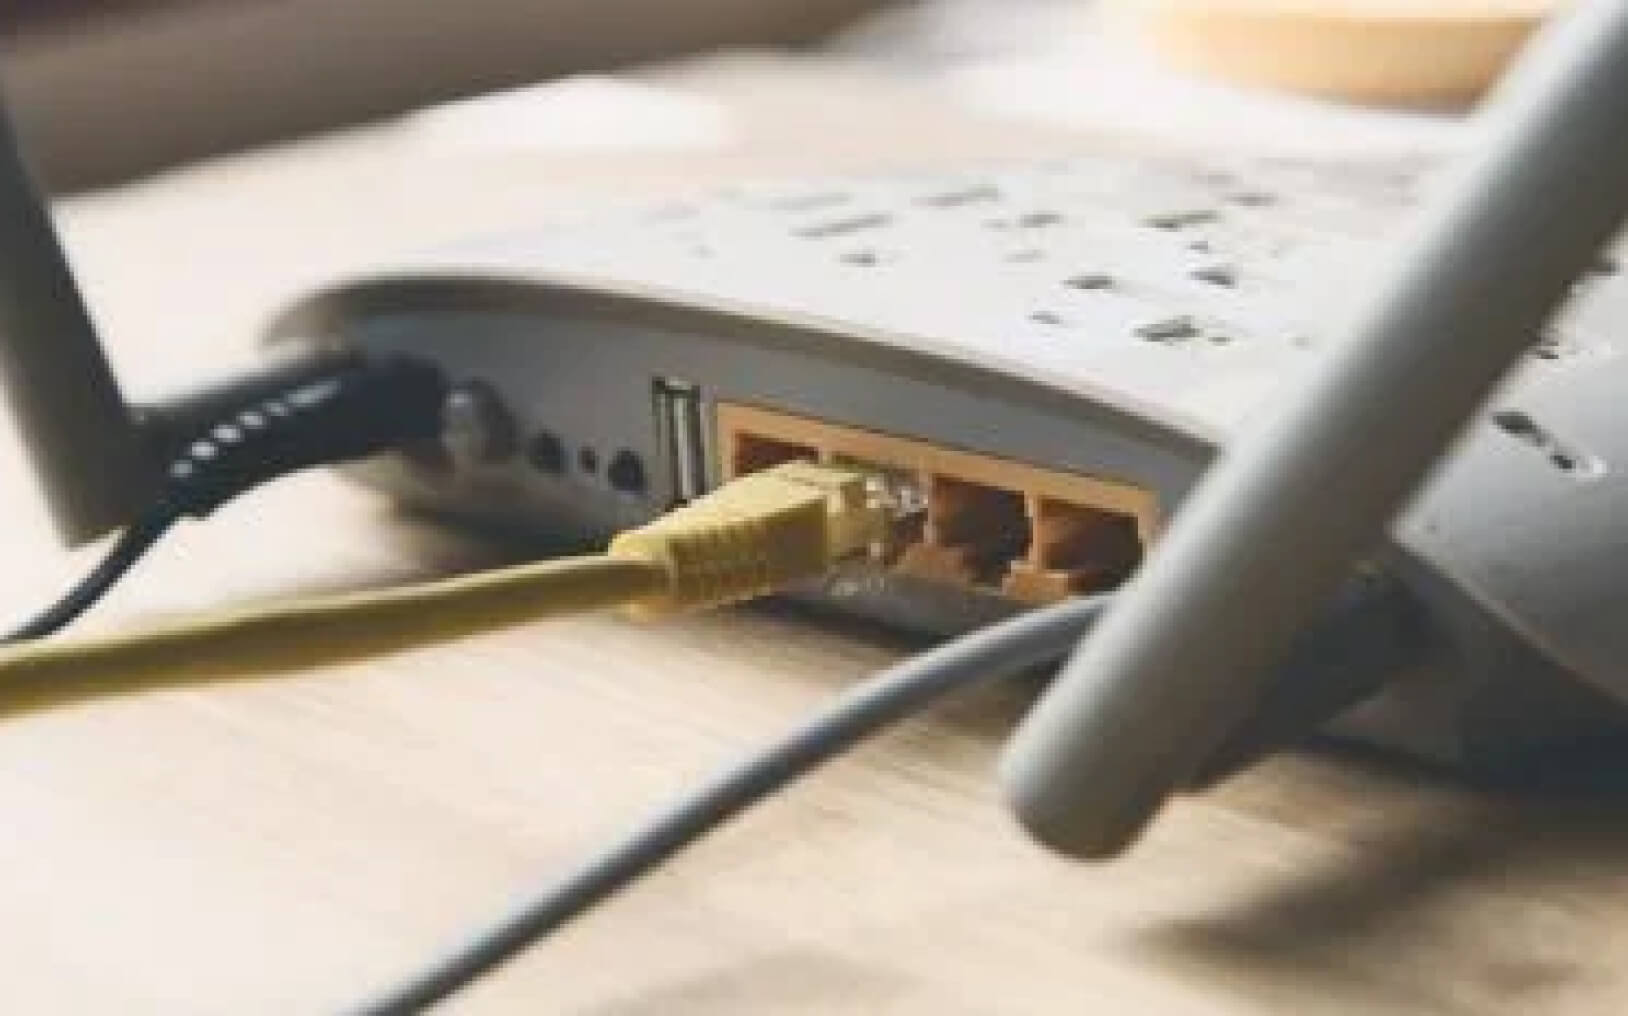
- Connecting to Your Home Network: The ONT is connected to your home network through Ethernet cables. If you have a Wi-Fi router, it will be connected to the ONT to provide wireless internet throughout your home.
- Testing and Activation: Once everything is connected, the technician tests the system to ensure it works correctly. This step involves checking signal strength and speed to confirm a successful installation.
- Final Setup: After testing, the technician will guide you through any necessary setup on your devices and explain how to use and manage your new fiber internet connection.
With these steps, you can enjoy the benefits of fiber internet, including faster speeds and more reliable connectivity. Welcome to the future of internet technology!


